Welcome to Doctecq. This guide gets your clinic ready to use in 10 short steps. Do them in order — each one makes the next screens work correctly. Most clinics finish in under an hour.
Tip: finishing setup matters. Many "the software is not working" problems are simply a step that was skipped — for example, no doctor added means no doctor to pick when booking.
The 10 steps
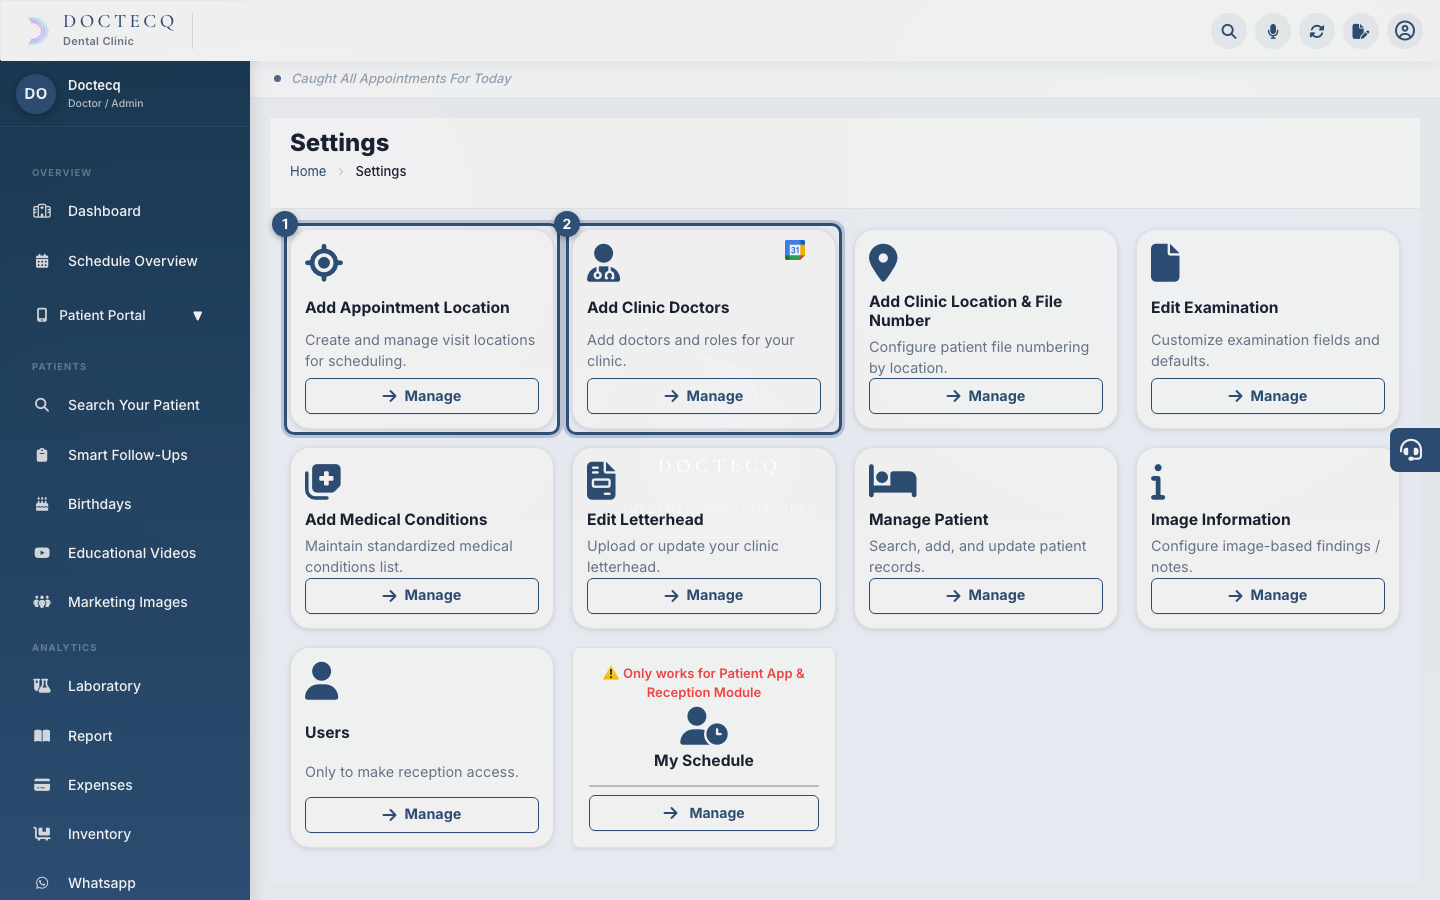
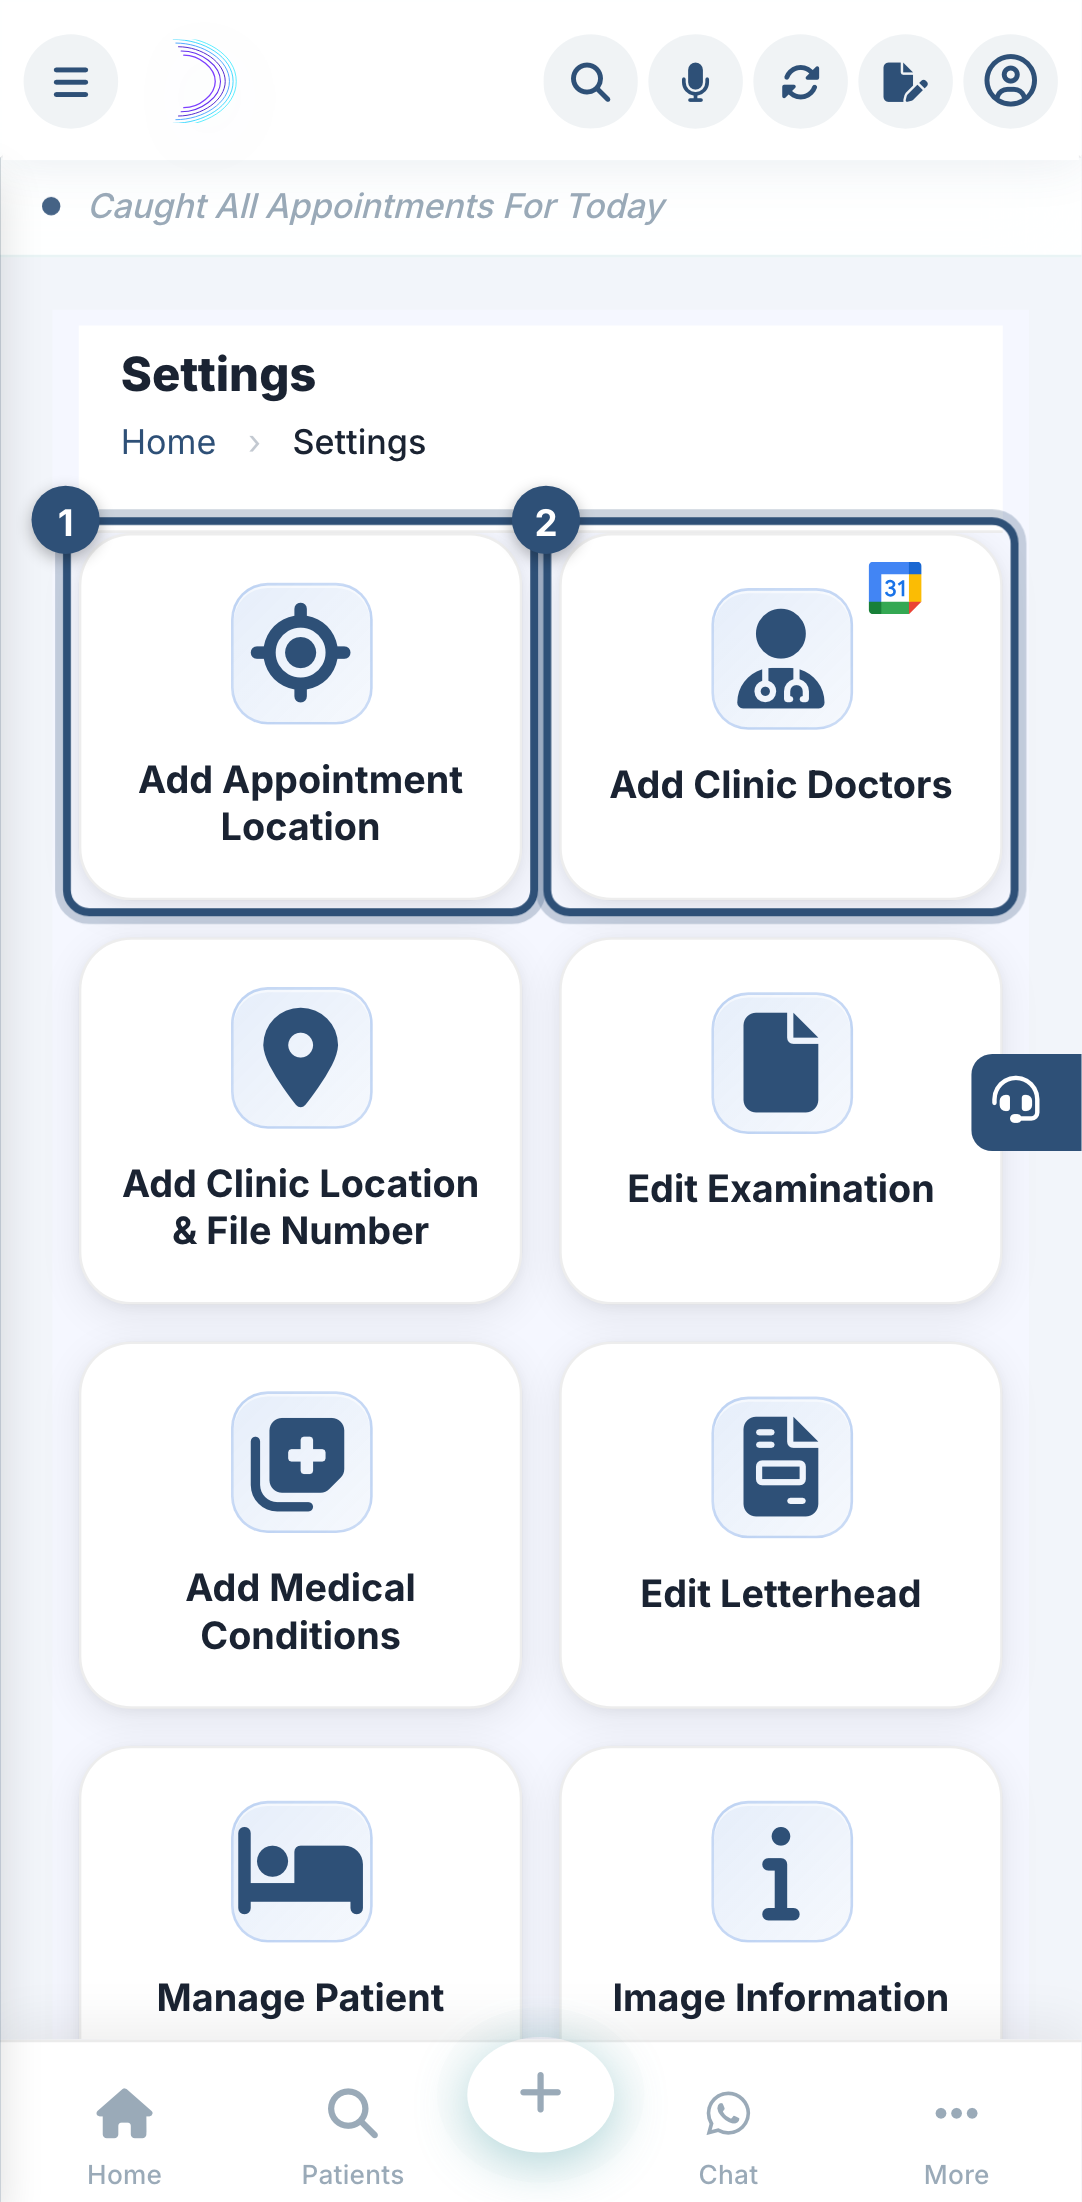
Open Settings from the left menu, then work down this list:
- Appointment Location — add the place(s) shown on the appointment form.
- Clinic Doctor — add each doctor, phone and calendar colour.
- Clinic Location & File Number — set how patient file numbers are made (per branch).
- Edit Examination — add your ready-made examination, prescription and treatment plans, and your clinic invoice number.
- Letterhead — upload your letterhead and set the print margins.
- My Schedule — set each doctor's working days and time slots.
- Users — create logins for your reception and staff.
- Bill Module passkey — open your profile (top-right) and generate the passcode for the Billing Desk.
- Patient Portal → Overview — add your clinic details for the patient app (if you use the portal).
- You're ready — start booking patients and running your day.
After step 10, every part of the software is ready and you can start your normal patient flow.
What each step unlocks
- No Appointment Location → the location box on the booking form is empty.
- No Clinic Doctor → you cannot pick a doctor when booking.
- No File Number setup → patient file numbers come out wrong.
- No Treatment Plans / Invoice Number → nothing to bill against.
- No Letterhead → prints come out plain.
Click any step above to open its full guide. Need help while setting up? Call or WhatsApp +91-92742-68338.